How to Back Up iPhone Photos to a Mac
A complete guide to backing up your iPhone photos to a Mac — automatically and manually — so your memories are always safe.

Backing up your iPhone photos to a Mac is one of the smartest things you can do to protect your memories. Here's how to do it properly.
Why Back Up to a Mac?
iCloud is convenient but it's not a true backup — if you accidentally delete a photo, it disappears from iCloud too. A local backup on your Mac gives you a second copy that's completely independent.
Method 1 — Using Finder (Easiest)
Since macOS Catalina, you back up your iPhone directly through Finder.
- Connect your iPhone to your Mac with a cable
- Open Finder and click your iPhone in the sidebar
- Click Back Up Now
- Wait for the backup to complete
This backs up everything on your iPhone including photos, but the photos aren't easily accessible as individual files.
Method 2 — Using Image Capture
Image Capture lets you import photos as actual files you can browse.
- Connect your iPhone to your Mac
- Open Image Capture (search with Spotlight)
- Select your iPhone in the sidebar
- Choose a destination folder on your Mac
- Click Import All
Your photos are now saved as individual files on your Mac, organised by date.
Method 3 — Using Photos App
- Connect your iPhone to your Mac
- Open the Photos app
- Click your iPhone in the sidebar under Devices
- Click Import All New Photos
This imports photos into your Mac's Photos library where they're organised automatically.
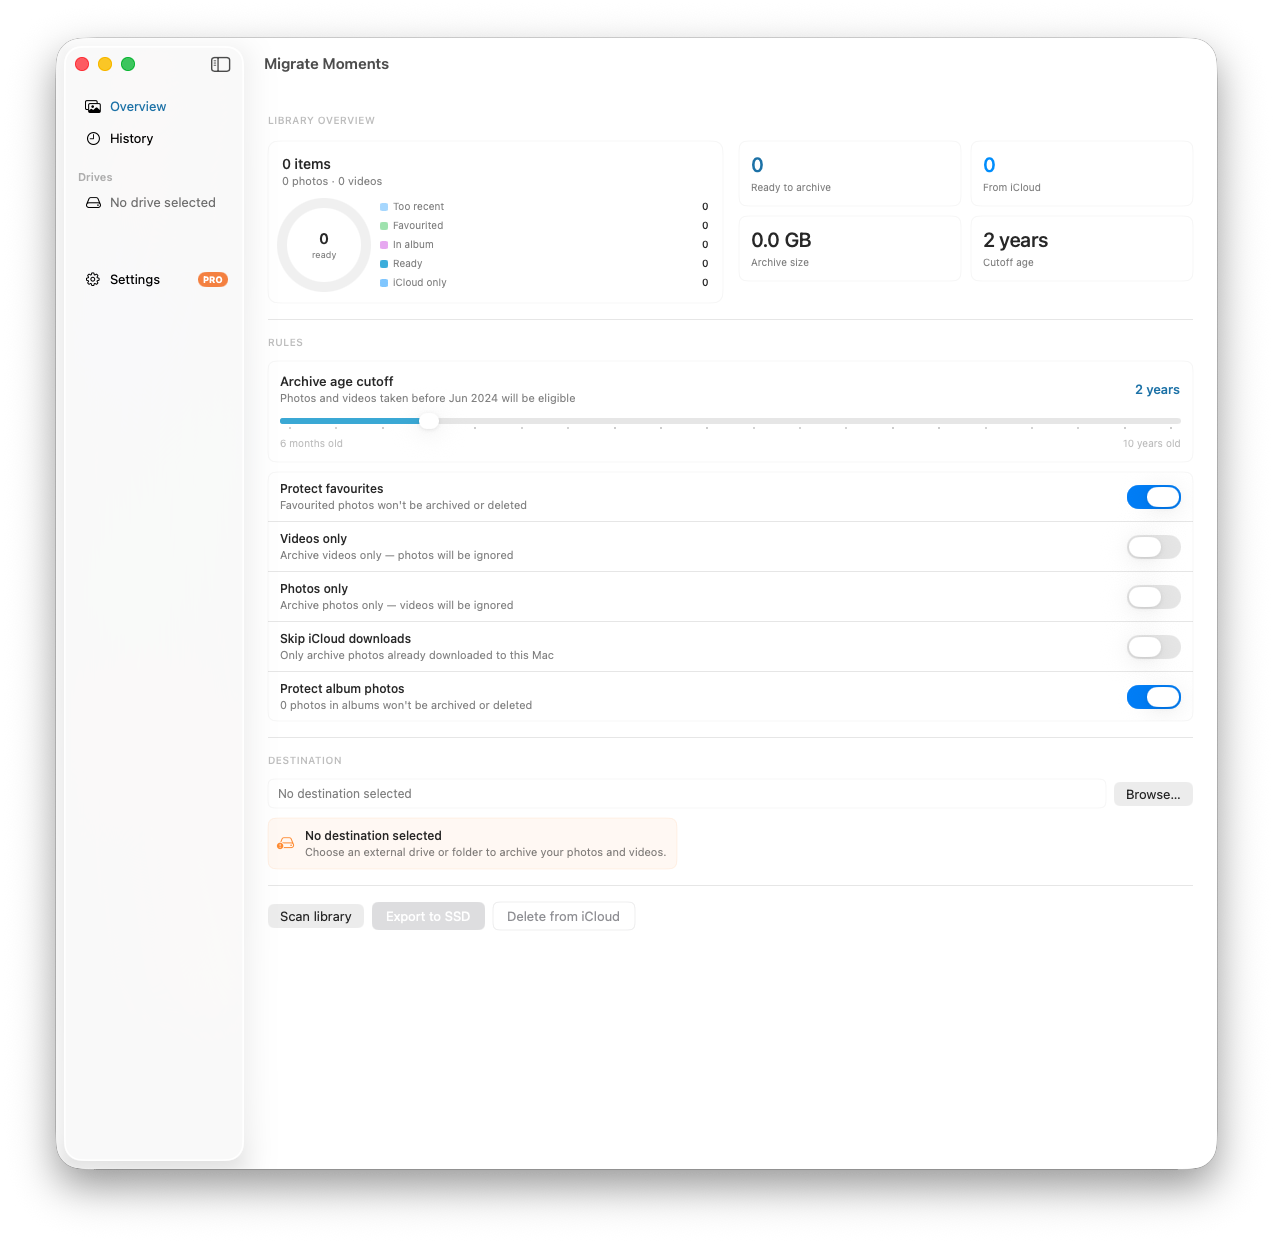
Method 4 — Using Migrate Moments (For iCloud Libraries)
If your photos are stored in iCloud rather than locally on your iPhone, Migrate Moments is the best solution. It downloads your originals directly from iCloud and saves them to an external drive organised by year and month.
- Download Migrate Moments free on your Mac
- Connect an external drive
- Scan your library to see what's ready to archive
- Export to your drive — Migrate Moments handles the iCloud downloads automatically
Which Method Should You Use?
- Quick backup of everything: Use Finder
- Access photos as individual files: Use Image Capture
- Organise into your Mac Photos library: Use Photos app
- Archive old photos from iCloud: Use Migrate Moments
How Often Should You Back Up?
Aim for at least once a month. If you take a lot of photos — at events, on holidays — back up immediately after so you don't risk losing anything.
Related articles
Ready to free up your iCloud storage?
Download Migrate Moments free — scan your library in minutes.
Download free for Mac